
This lesson is made with PSPX9
But is good with other versions.
© by SvC-Design
Materialen Download :
Here
******************************************************************
Materials:
achtergrond.jpg
Alies 9VR60-woman-31072012.psp
Animation1.gif
benice 168.5.PspSelection
element_2_maxou.psp
fdj67vg0.png
******************************************************************
Plugin:
No
******************************************************************
color palette
:
******************************************************************
methode
When using other tubes and colors, the mixing mode and / or layer coverage may differ
******************************************************************
General Preparations:
First install your filters for your PSP!
Masks: Save to your mask folder in PSP, unless noted otherwise
Texture & Pattern: Save to your Texture Folder in PSP
Selections: Save to your folder Selections in PSP
Open your tubes in PSP
******************************************************************
We will start - Have fun!
Remember to save your work on a regular basis
******************************************************************
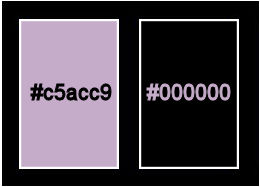
Foreground: c5acc9 Background: black
Course: linear angle 45 - rep 3

1.
Open a new transparent image of 900x650 pixels
2.
Fill with black.
3.
Layers - New Raster Layer
4.
Selection - Select All
5.
Open achtergrond.jpg
Edit – Copy
Edit - Paste into selection
6.
Selection - Select None
7.
Adjust - blur - gaussian blur
Range: 100.
8.
Adjust – hue and saturation – colorize
206 -54.
9.
Layers - New Raster Layer
10.
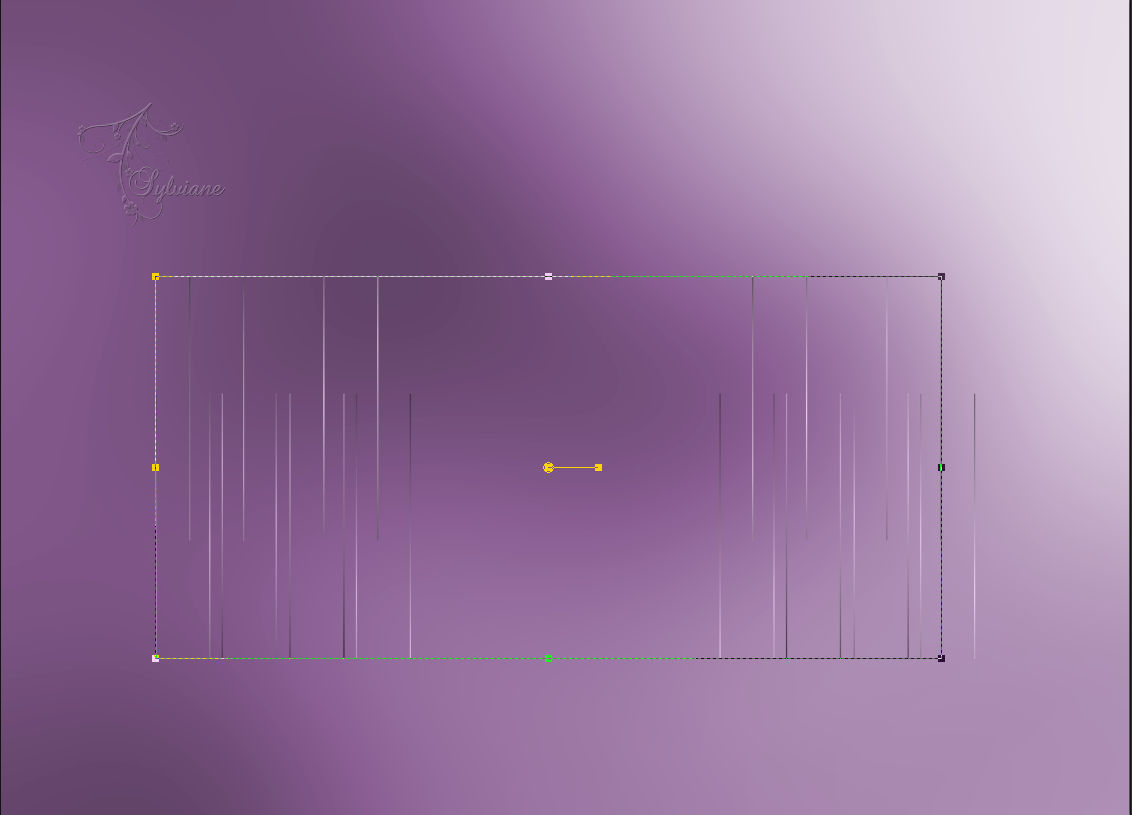
Set your foreground to gradient - linear- angle 45 - rep 3 - invert.
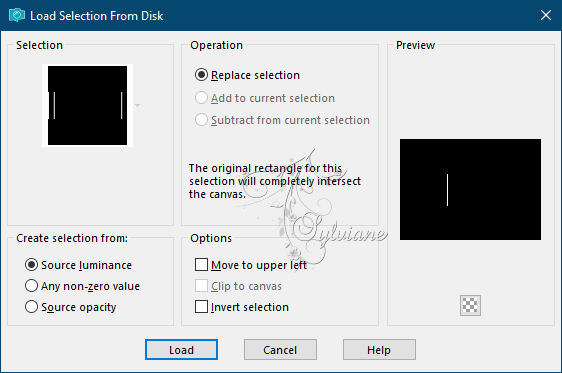
11.
Selections - Load / Save - Load selection from disk - benice 168.5.PspSelection
12.
Fill the selection with gradient.
Selection - Select None
13.
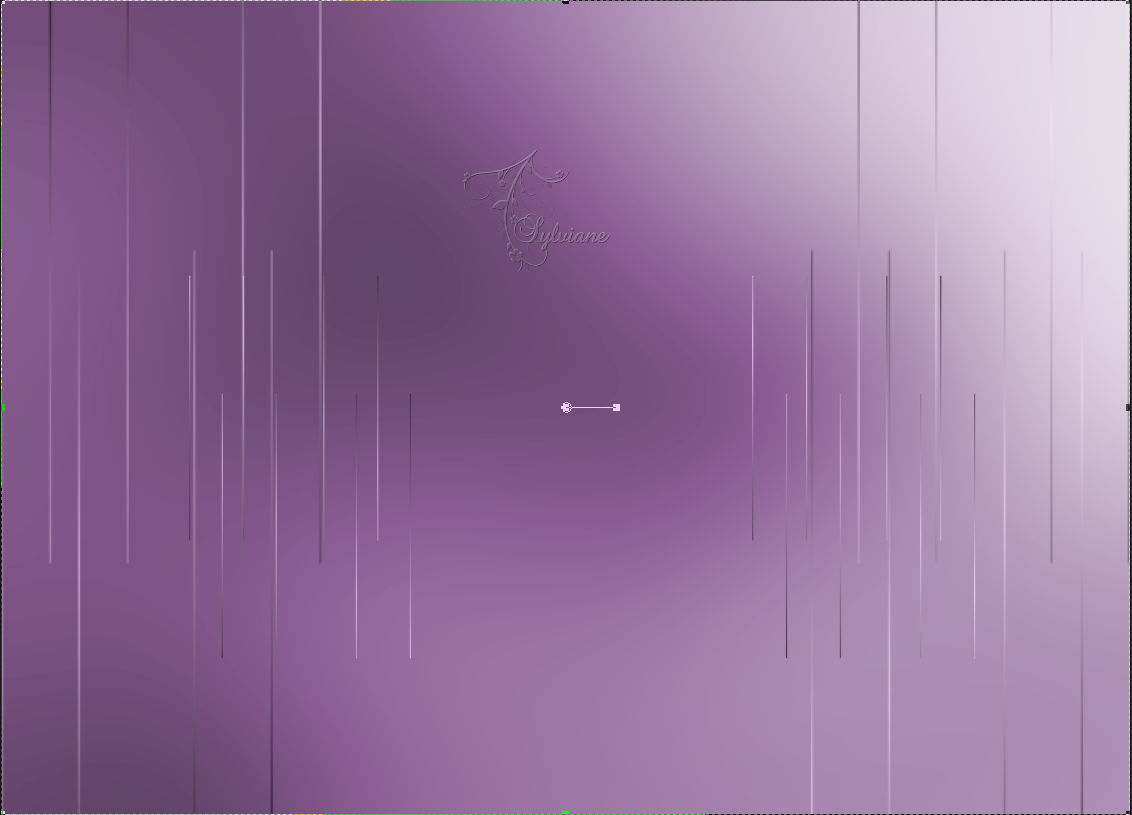
Effects - Image Effects - Seamless Tiling

14.
Adjust - sharpness - sharpen.
15.
Layers – Duplicate
Image - Mirror – mirror Horizontal
16.
Click on the D on your keyboard, so your layer is selected, stretch it over the surface of your image.
17.
Layers - Merge - Merge visible layers
18.
Open element_2_maxou.psp
19.
Adjust - hue and saturation (good)
20.
Edit - Copy
Edit - Paste as new layer
21.
Adjust - sharpness - sharpen.
22.
Open Alies 9VR60-woman-31072012.psp
Edit - Copy
Edit - Paste as new layer
23.
Resize image 90%, all layers unchecked.
24.
Move her a little to the left.
25.
Effects - 3D effects - drop shadow:
13/13/30/ 24 color:#000000
26.
Open fdj67vg0.png
Edit - Copy
Edit - Paste as new layer
put the bottom right against the edge.
27-
Draw the layer under the woman tube.
28.
Effects - 3D effects - drop shadow - settings are correct.
29.
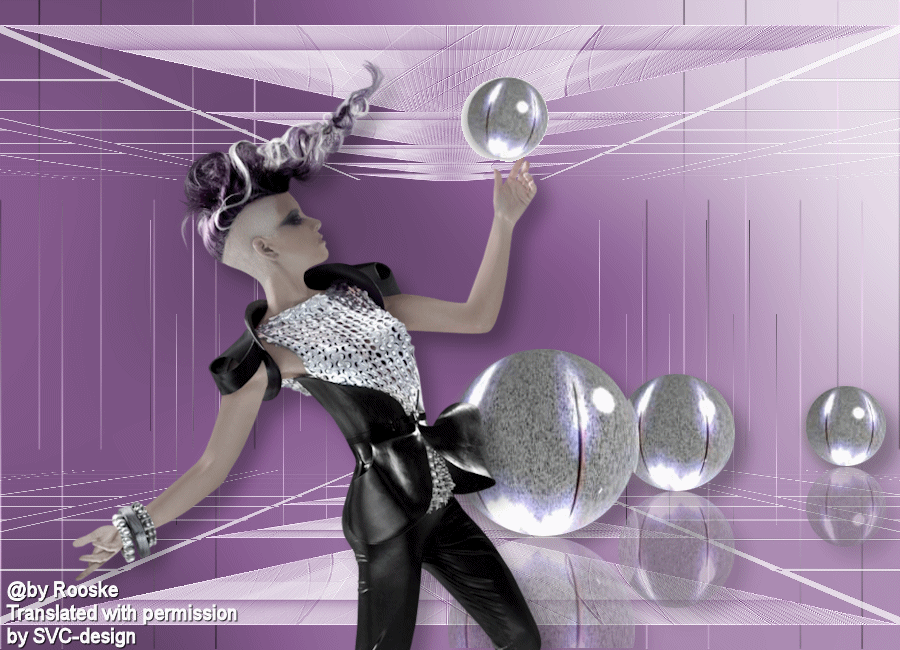
Put your name on your creation and merge the layers visible.
30.
Set aside.
31.
Open new transparent image of 300 x 300 pix.
32.
Select from the tube the small sphere
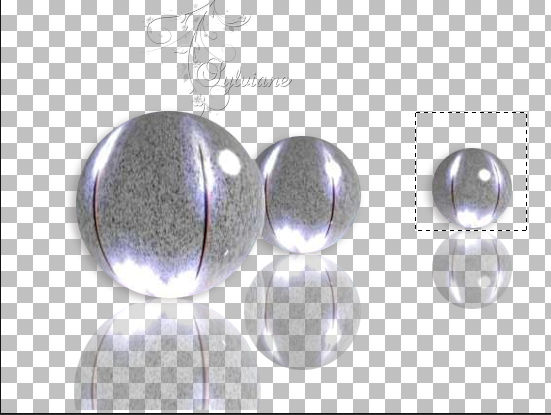
33.
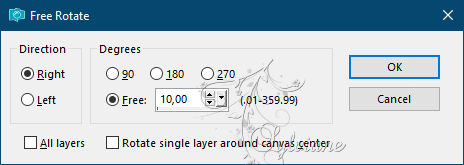
Go to image free rotate and set to 10 on the right see screen
34.
Copy the sphere and open animation shop.
Paste as new animation.
35.
Go back to your psp image - free rotate - 10 right.
36.
Copy - go to AS and paste after current.
37.
Repeat 1 more free rotate and paste after current one in AS.
38.
Copy the creation - to animation shop.
39.
Paste as new animation.
40.
Duplicate up to 3 frames.
41.
Selection - Select All
42.
Animation - select all - copy.
43.
Drag the animation from the first frame to your creation first frame and put on the woman's hand.
44.
Go to animation - resize animation - and set to 600 width.
45.
Save your work as a gif.
Back
Copyright Translation © 2021 by SvC-Design